Create tile products: every screen
Follow these screenshots from top to bottom. Use Simple product for one size, or Variable product when customers choose a size.
1. Open Products
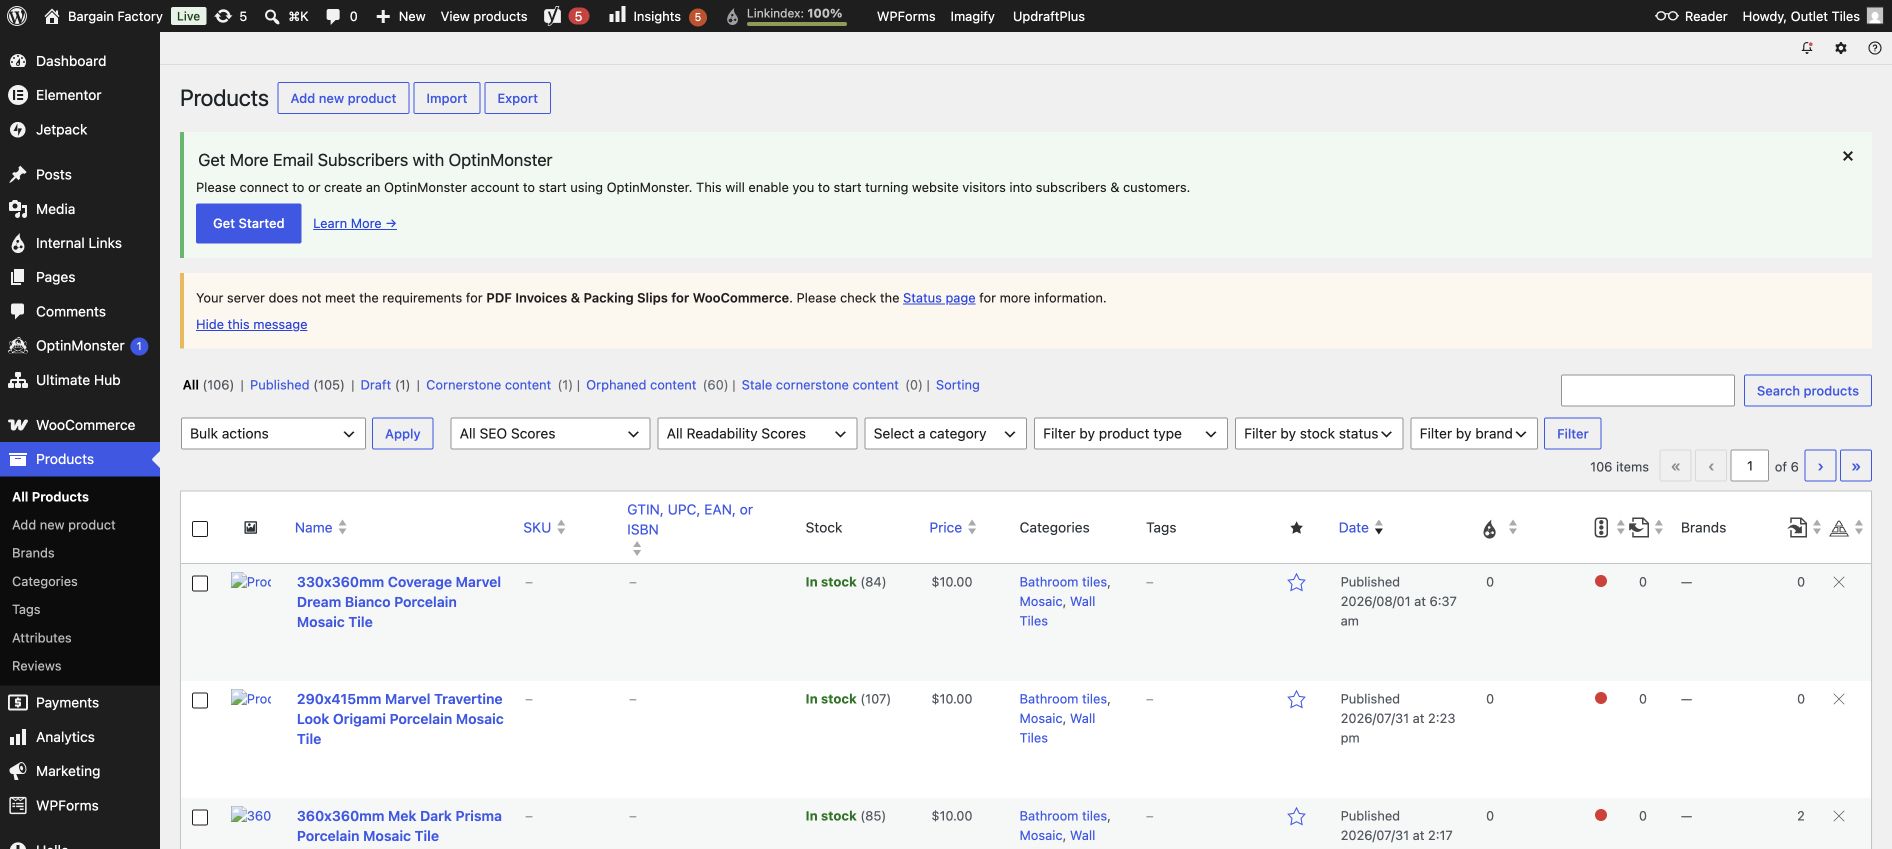
In the left menu, click Products. Then click Add new product.
2. Create a new product
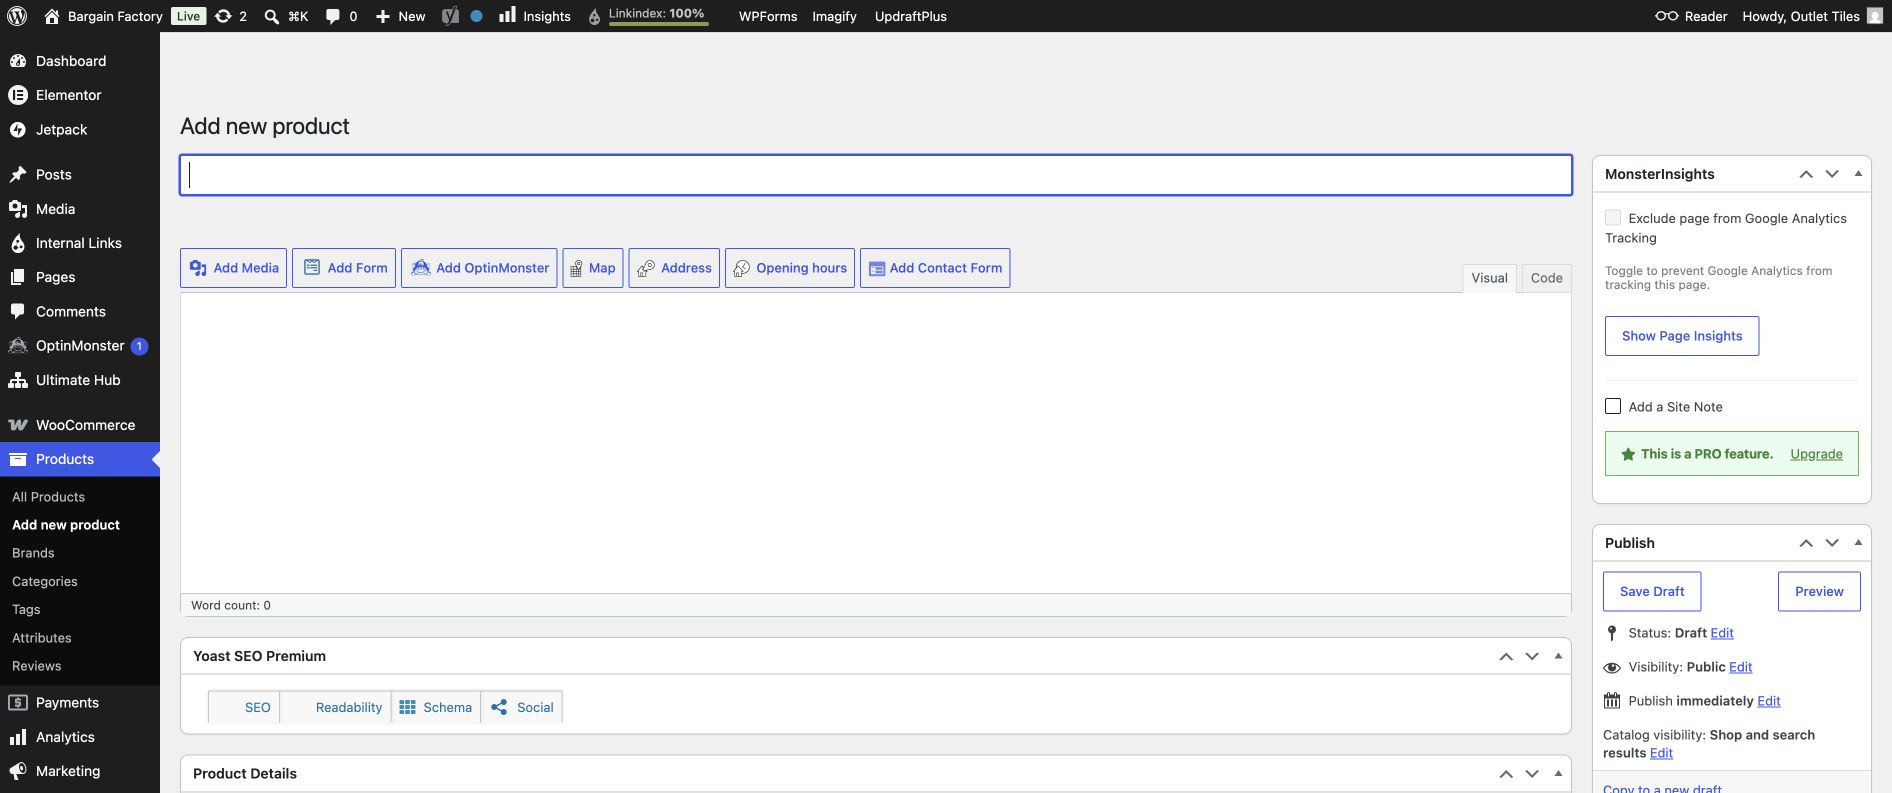
Enter the product title at the top, then scroll down to Product data.
3. Simple product: one tile size
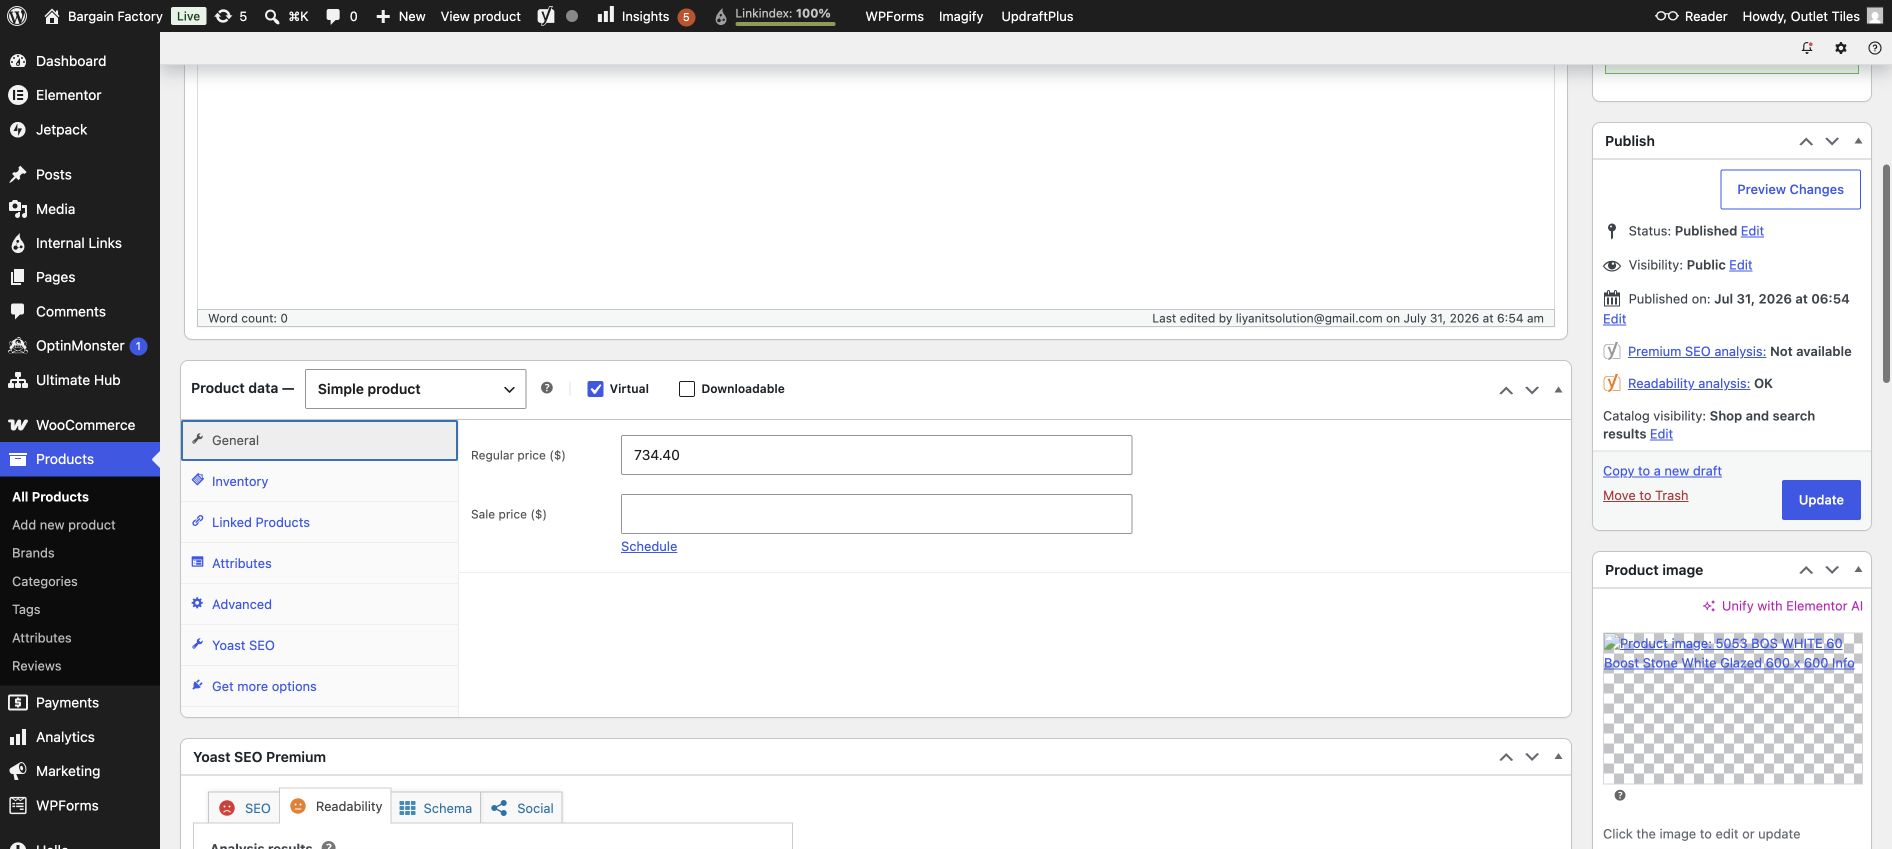
This is a Simple product. Use it for one size only, such as 600 × 1200 mm. Set one regular price here.
4. Select Variable product for different sizes
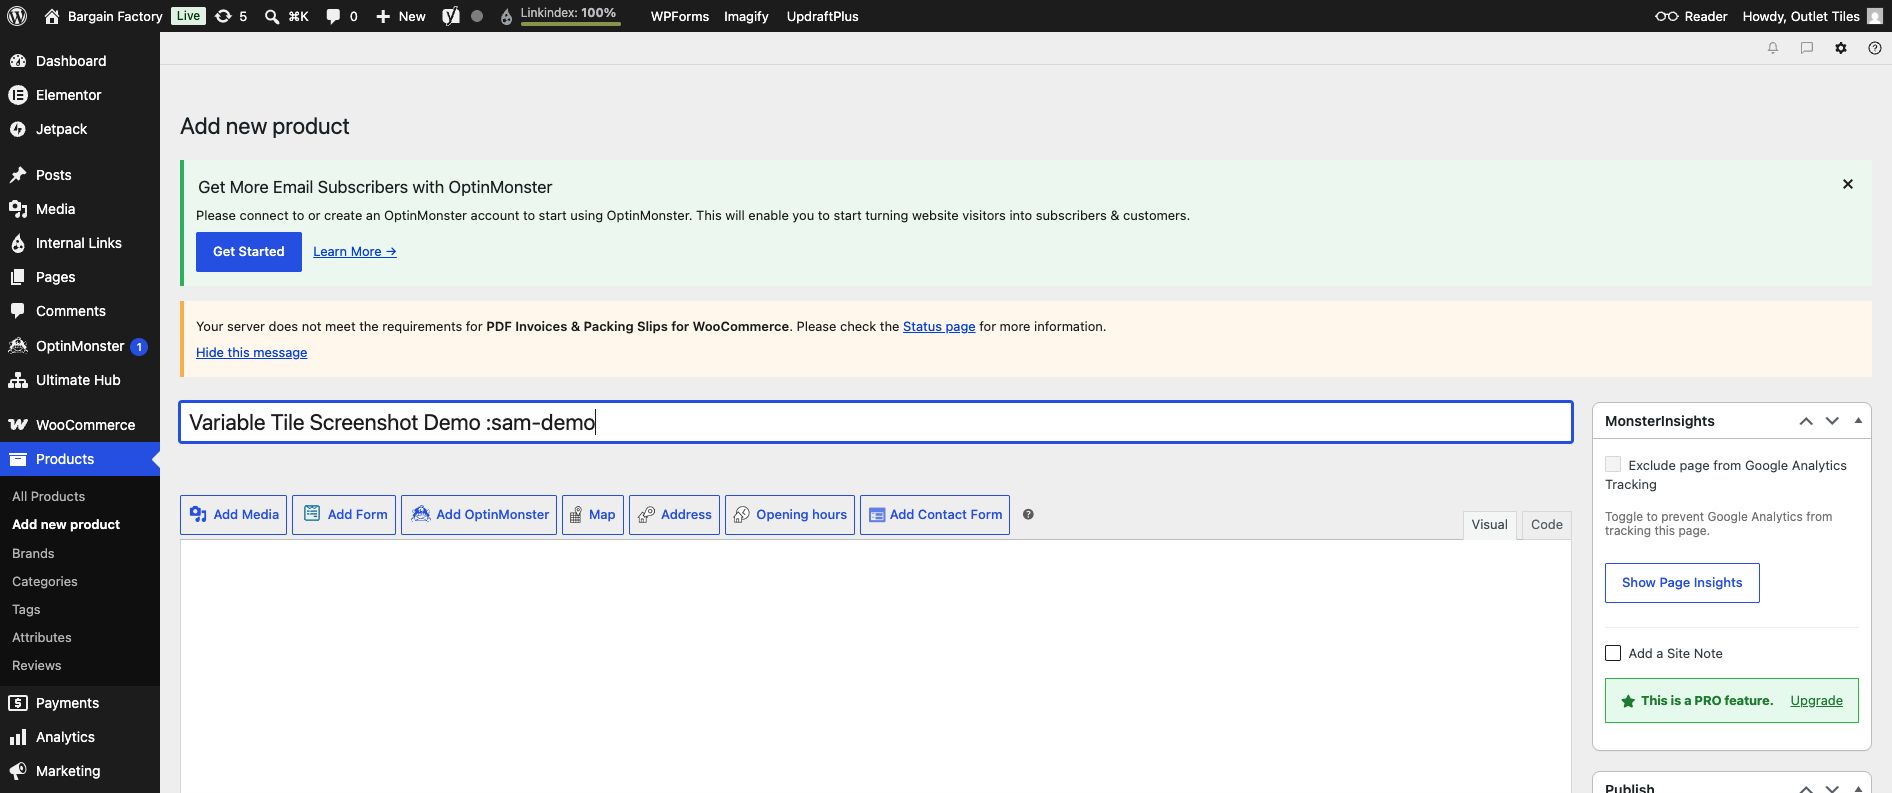
Change the Product data dropdown from Simple product to Variable product when customers must choose a size.
5. Add Size values
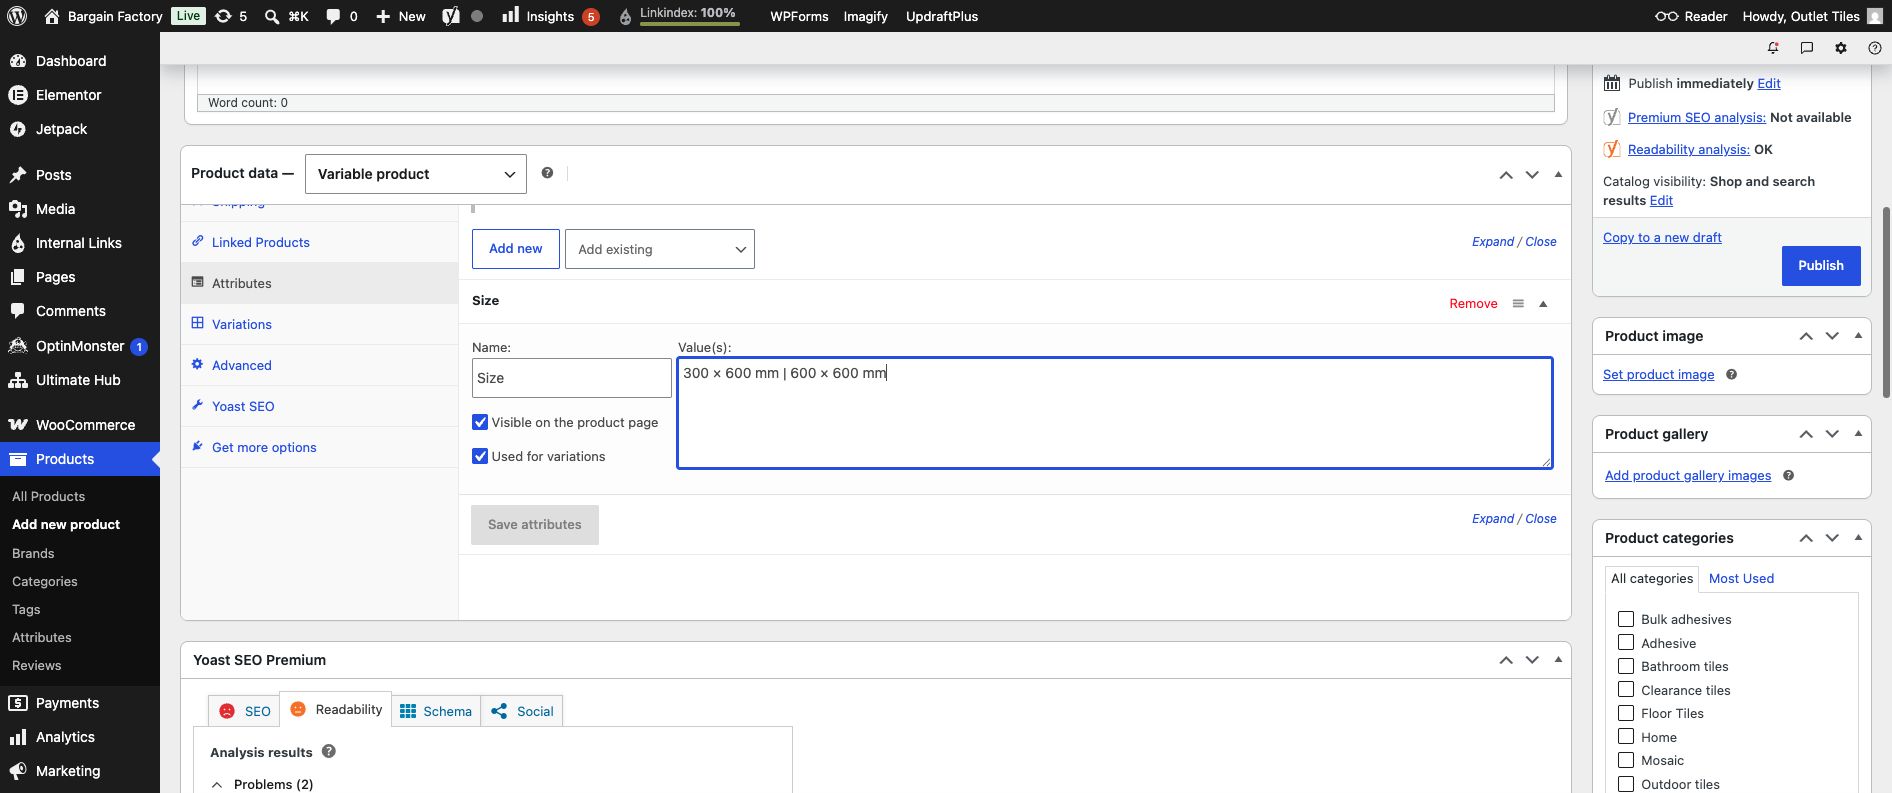
Open Attributes. Enter Size, then type sizes separated by |: 300 × 600 mm | 600 × 600 mm. Tick Used for variations and click Save attributes.
6. Open Variations and generate the size rows
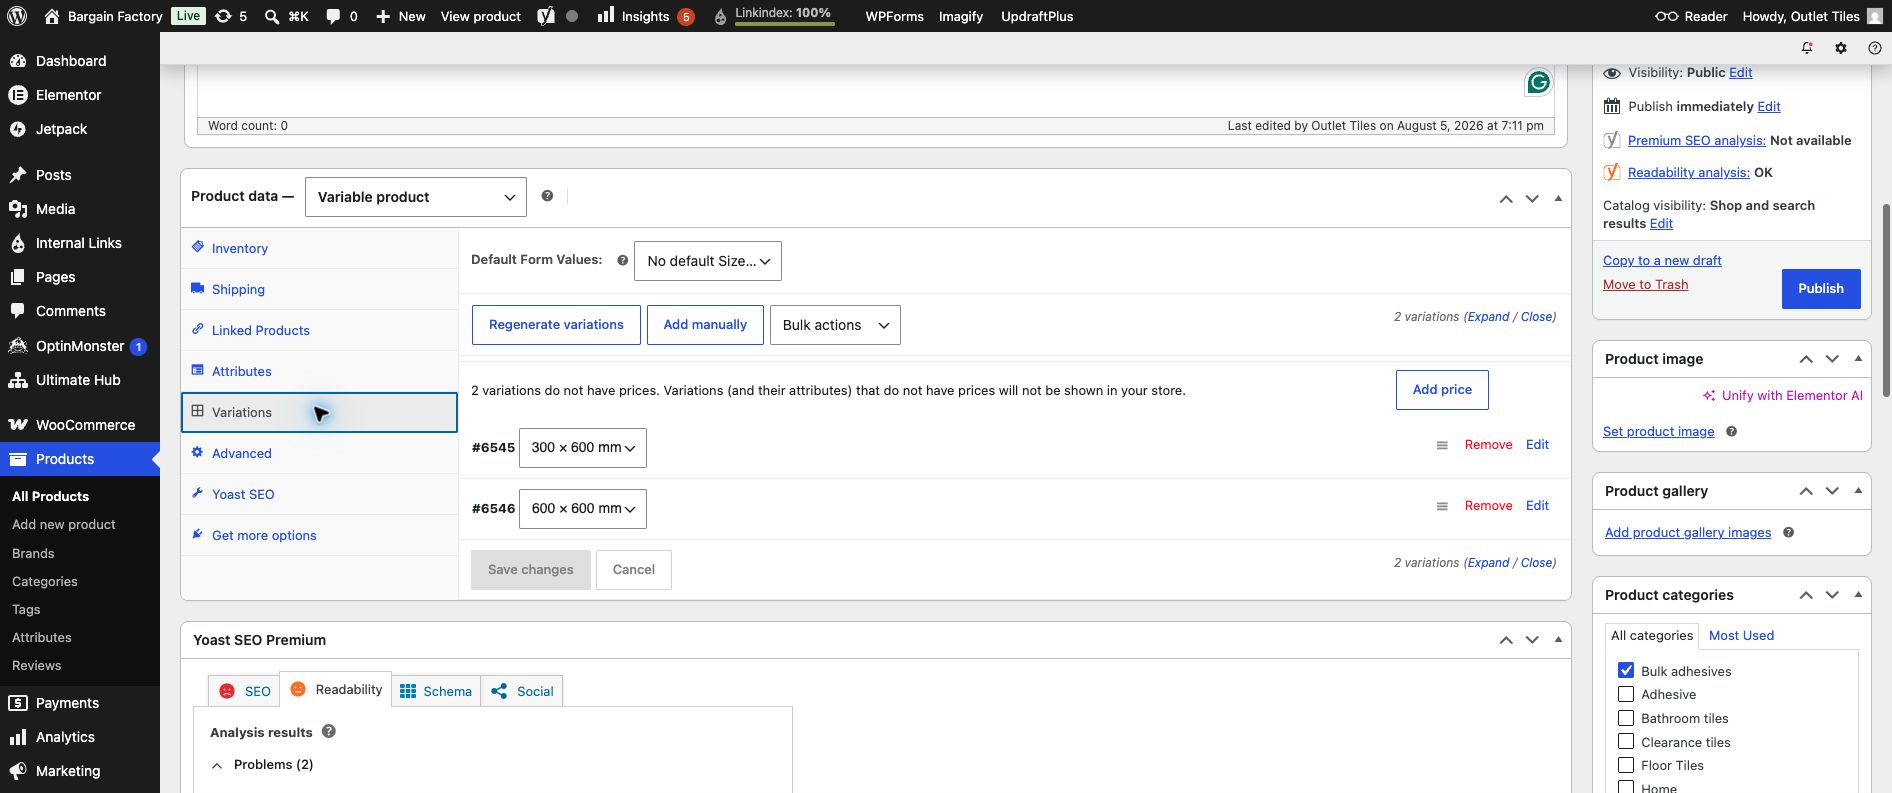
Open Variations and click Generate variations. WooCommerce creates one row for each tile size.
7. Open a size row and enter sales details
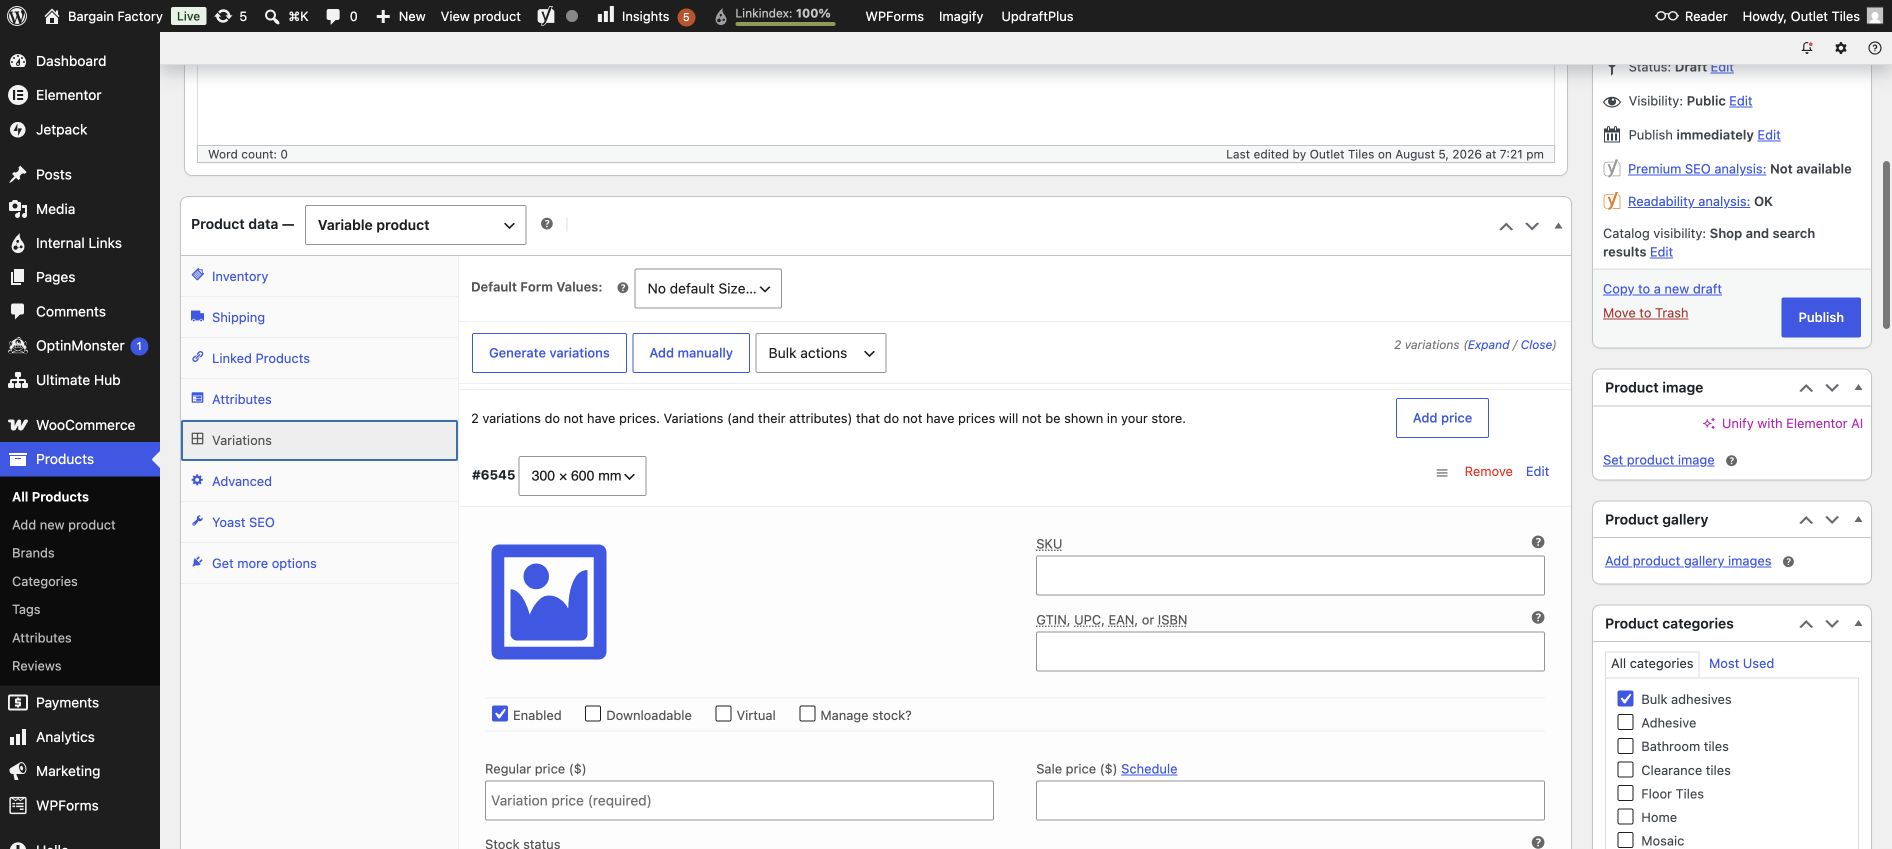
Click Edit beside a size. Enter its SKU, regular price and stock. Repeat for every size. The regular price is required.
8. Enter a different price for each size
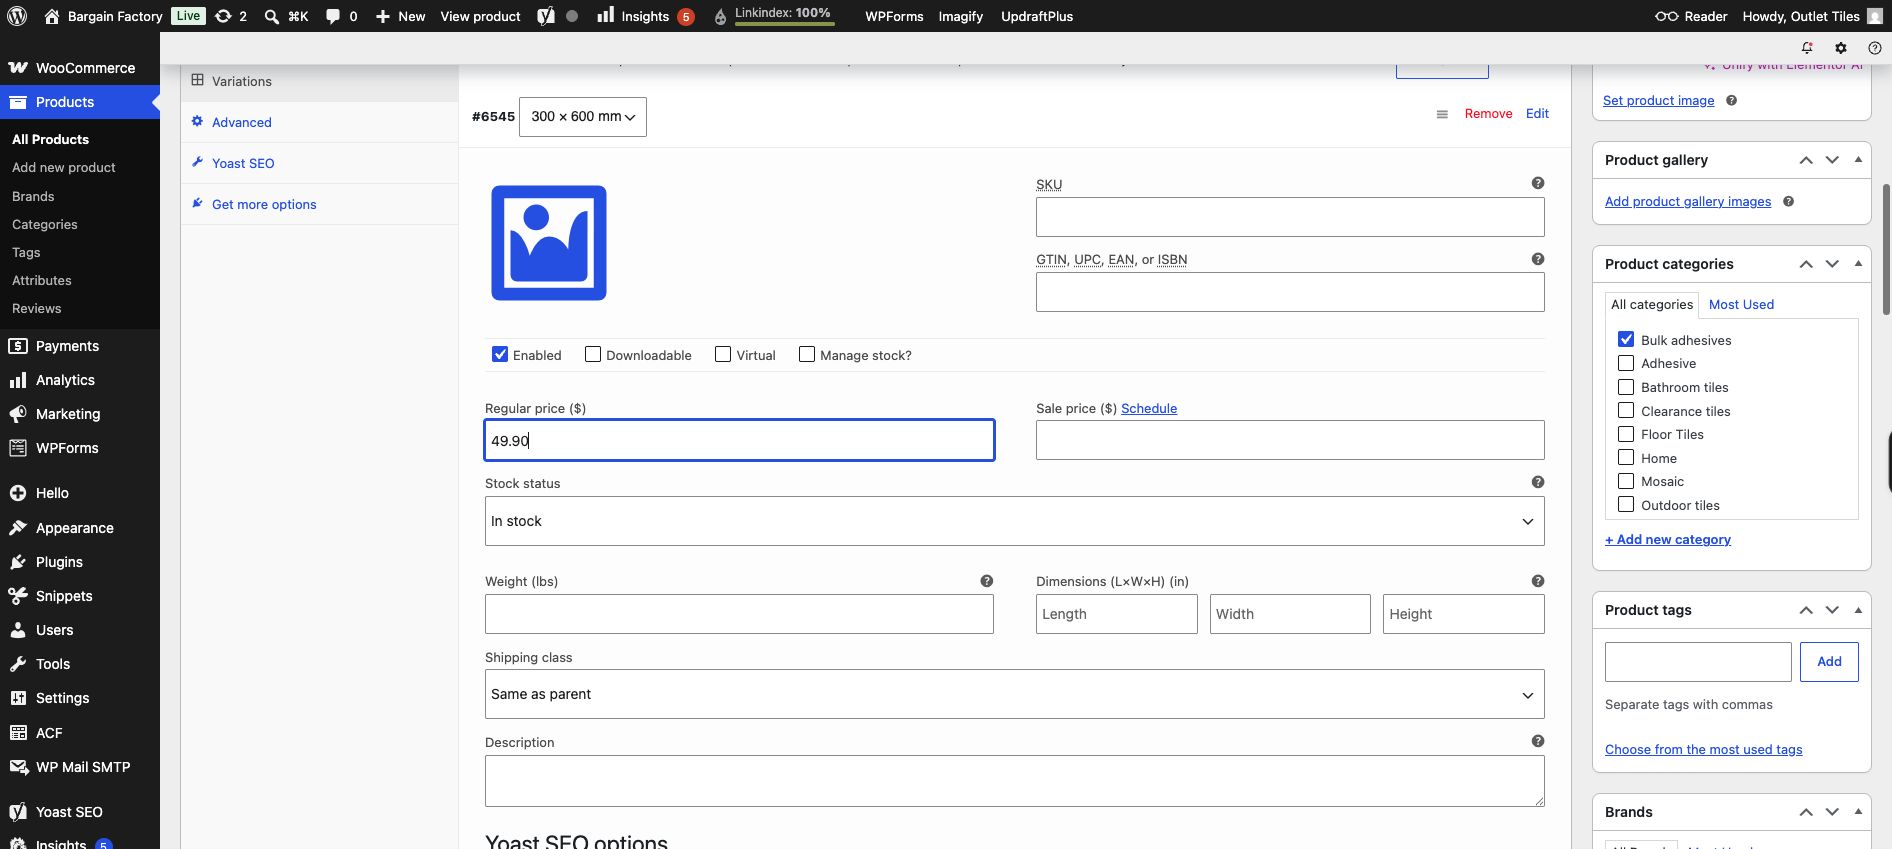
Example: 300 × 600 mm price = $49.90.
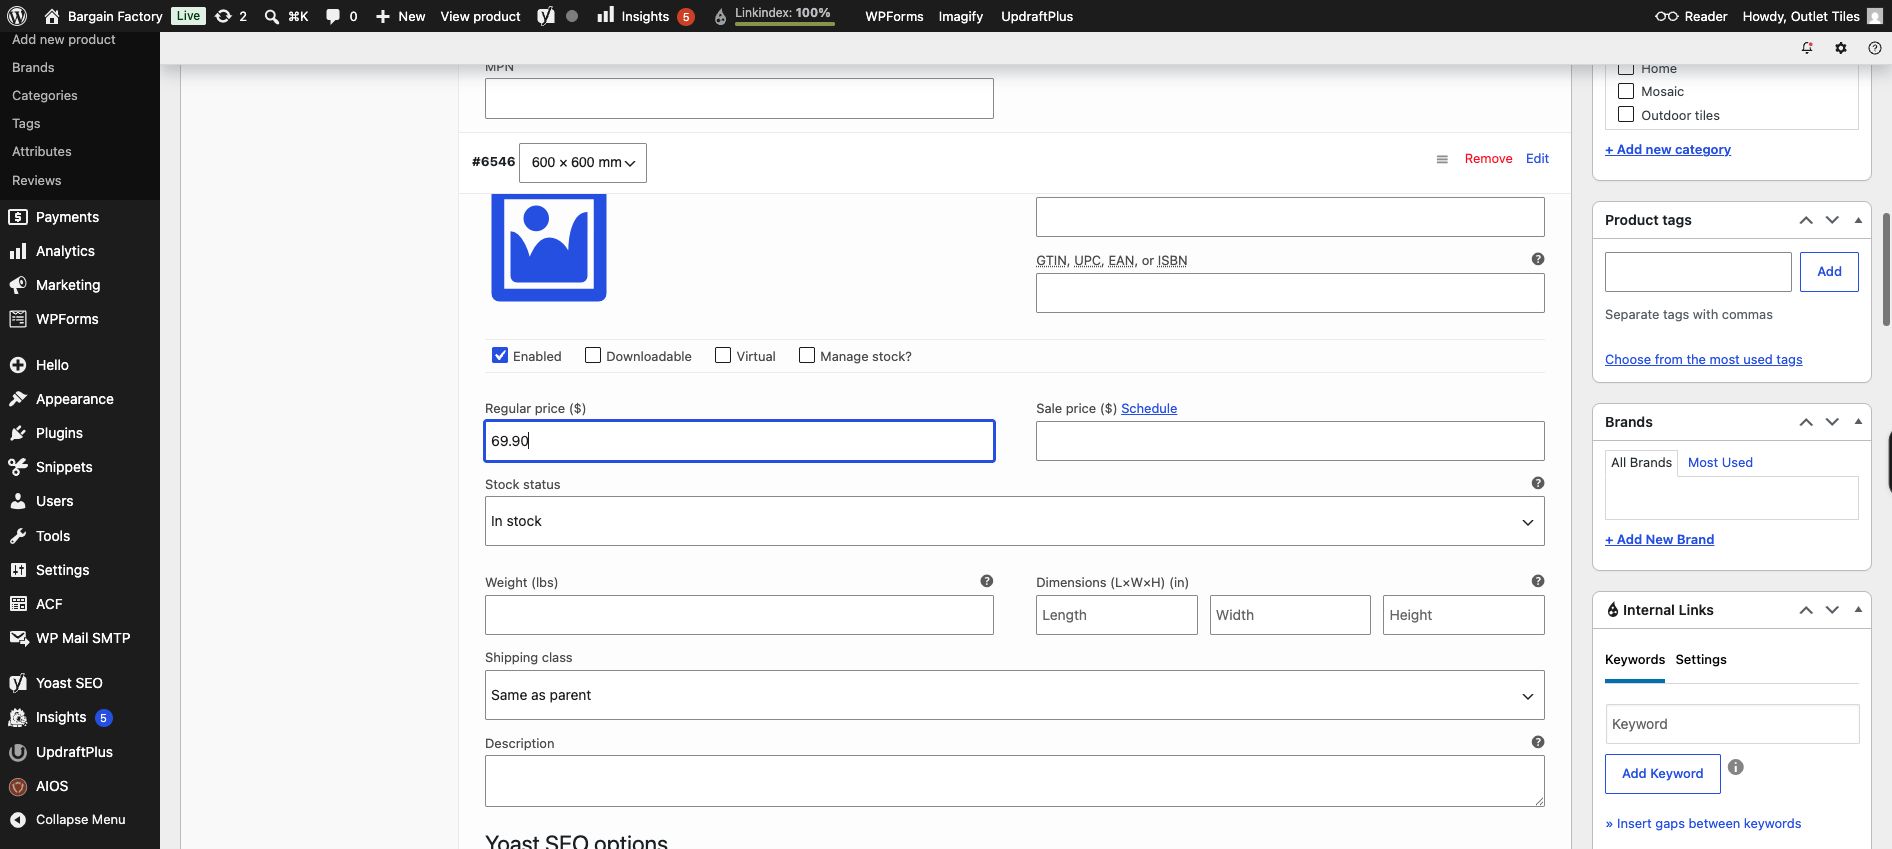
Example: 600 × 600 mm price = $69.90. Each size has its own Regular price field.